That would be a surprise with all the lock downs they are having...
Ive ordered from them twice this year and both times shipping has been crazy fast. Lockdowns don’t seem to be affecting everyone.
That would be a surprise with all the lock downs they are having...
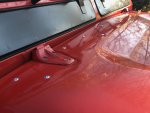
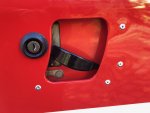
finally got my truck tuck out of storage after 15 months. After a battery charge, she started right up.
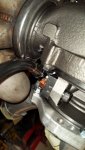
Changed tires from very solid KM1s (you can really tell the rubber was better back then) with some used KM2s.
Waiting on a new radiator (they are not terribly cheap). Need to change fluids, install rear silencer, new front shocks, new panhard bar and track bar, and eventually new springs, but i'm afraid they will lift the truck a little and then she wont fit in the garage.
Yes! Can't wait to get some of these things sorted and take her on some outings15months? That drive, I bet, was awesome. Long time to not drive her —although, I’ve been through those stints.

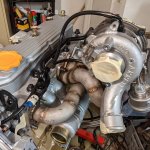
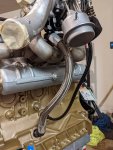
Can you change it to 4AN line or similar? Drill out barb on turbo and tap? Not ideal for sureGetting really close to taking it off the stand and putting it on the crane for clutch housing work. The oil return is millimeters from the manifold so I wrapped it but, I expect it to fail eventually. I may have to use hard copper tubing and an flare nuts, sucks.
The oil return is gravity fed and needs to be WIDE open, it's an10 ~5/8. Unfortunately it can't be reduced, if it backs up even momentarily the turbo could bleed oil. This turbo type (VKLR) is very susceptible to this failure type due to it being a ceramic ball bearing turbo with floating seals.Can you change it to 4AN line or similar? Drill out barb on turbo and tap? Not ideal for sure
")