rocky
NAS-ROW Addict
There was a funny pseudo electrical smell I my truck the other day. I say pseudo as it wasn’t smelling quite right.
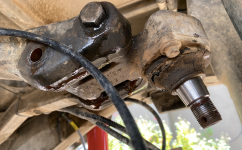
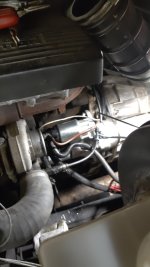
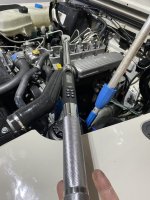
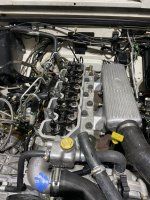
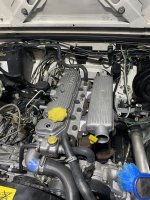
While out doing errands today, it came back. A little smoke appeared at a traffic light. Quick look under the hood, oil all over the starter, exhaust, etc.
Houston I got a problem. Bigger than I can deal with. Dropped it off at BDR one of several Rover places around here.
While out doing errands today, it came back. A little smoke appeared at a traffic light. Quick look under the hood, oil all over the starter, exhaust, etc.
Houston I got a problem. Bigger than I can deal with. Dropped it off at BDR one of several Rover places around here.