4RF RDS
0
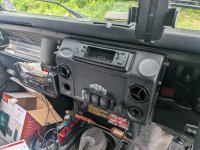
Recently I drove across North America, 7600 kms to New Mexico and back to my home in Canada for some on trail instruction and education with I4WDTA, Safe Extract, Chris Cole and Bill Burke (some of the best in the world). My 110 Td5 didn’t skip a beat and ran flawlessly. During the trip, in Texas, she turned over 210,000 kms.
When anyone says the Td5 motor or Defenders are unreliable… I say meh! 🤷♂️. You don’t know what you’re talking about. Now for some oil and fluid changes.
 Love my 110 CSW😉


When anyone says the Td5 motor or Defenders are unreliable… I say meh! 🤷♂️. You don’t know what you’re talking about. Now for some oil and fluid changes.