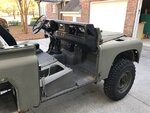
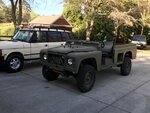
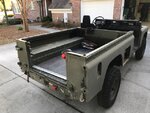
So brief update. Spent a good amount of time stripping this bitch down and as you can imagine I just want to replace a bunch of bits (but I'm not going to do it). Many parts will be recycled and media blasted and then powder coated prior to putting back on after paint. I've stripped many a defender before but there were some tricky (I should say royal pain in the ass bolts) to access and remove on the Tith. Still have a handful more exterior and a few interior bits to remove and then I'll have it up on jack stands blasting undercarriage for a cleaning and fogging. After that it's ready for sanding and paint! Though I have a little hole to patch on the rear crossmember but nothing too major.
Guys, getting the part numbers for your seals, etc.... is the least of your concerns taking the Tith apart. Once you take the shit apart you will know very easily what you need/want to replace. Stack it all in a pile and then spend just a little bit of time chatting with one of the reps at RN or your favorite supply house and tell them what you need.
Matt: If you plan on changing your truck to AA yellow
")
confused
then you're going to have some serious work to do if you want that kind of a color change inside and out on your tith. Certainly doable but plan for much more than you could imagine getting into. Of course this will always depend on how far you plan to go with the truck and what end result you are expecting. Anything is possible with time and money. The reason I mentioned in my initial questioning if color change was an option with this type of paint is just because I was considering (and still am) a slight change in the green so that if you're not hauling the engine, etc, etc.. then the color won't be so dramatically different like if you chose blue, red, yellow, etc.... Again, to each their own but just make sure you think that one through before getting the yellow paint
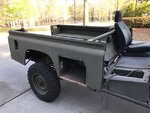
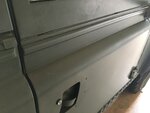
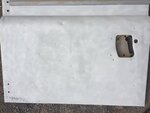
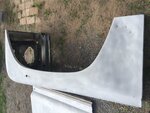
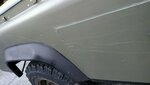
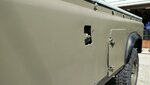
I'm making a few small mods as well. Removed the storage boxes on the side and they will be blasted prior to reinstall and then of course painted. But I am adding rock sliders and that involves some cutting of the box panels prior to reinstall. There was a thread on another site that was started (by me) some time ago and the thread turned up someone who had done it (I believe it was Chris Snell but not certain). Anyway, I'll be bringing that thread back to life shortly when I get to that part of this project.
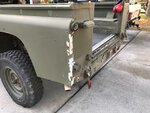
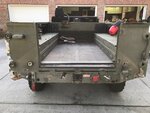
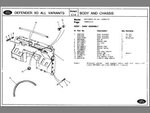
I also want to replace the lights and upgrade to LEDs but that's still TBD. Still trying to figure out how the hell to get the tail lights off without cutting all the damn wires if that's even possible. Either way they will need to come off prior to spraying the back of the truck. **Anyone reading that wants to clue me in on easier way to remove those damn lights please enlighten me before I just cut the bastards** Also, if anyone has removed the 12V plug and plate from rear crossmember I'd like to know how. There are 4 10mm bolts but no nuts accessible from behind and they are not captive on the other side either. I haven't put much time on that yet but some quick info would be nice.
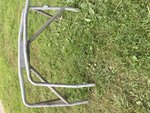
Cage will be on the way to blasting and powder coat next week along with a bunch of other bits.
That should do it for this brief update. Hope to have paint on it within next two weeks so I can let you guys know how it goes.
 IMG_0120.jpg14.9 KB · Views: 169
 IMG_0129.jpg17.5 KB · Views: 156
 IMG_0128.jpg19 KB · Views: 159
 IMG_0127.jpg12.3 KB · Views: 167
 IMG_0126.jpg15.4 KB · Views: 163
 IMG_0125.jpg15.6 KB · Views: 162
 IMG_0124.jpg15.7 KB · Views: 156
 IMG_0123.jpg14.2 KB · Views: 159
 IMG_0122.jpg13.1 KB · Views: 162
 IMG_0121.jpg15.4 KB · Views: 170