On Friday, I tacked up the exhaust complete and hung it overnight. With fresh eyes on Saturday morning, I knew I had to change several things that would change everything. Argh. Do it, or it’ll bug me forever. So ground everything apart, started again. Finished late last night. Some notes on install.
1). Stainless (I used 304 SS) dulls tools and wrecks blades. Spend the dough, get a dedicated stainless blade for metal chop saw. My favorite tool by far for exhaust work. I also have steel and aluminum blades, worth every dime. Metal chop saws spin slower than abrasive wheel saws—they are not interchangable. Cuts are precise, don’t get hot, and are quick.
2) Just tack full mock up in place before committing to welding. Yeah, more work, but less work too if you change anything.
View attachment 24558
3) Use proper wire or rods. I used specific SS to SS wire in my MIG gun. I was gonna borrow a tig, but finally just decided to not do that. Another time.
4) Use proper shielding gas. Which I didn’t have and knew I wasn’t gonna use. I just used my AR/CO2 which I knew would work, but not nearly as good as a tri-blend. Back feeding the setup with AR is ideal too, but I didn’t have the capability for that and I only had about 4 burn-throughs that I fixed. To do it over again, I would have gotten a bottle of the tri-blend gas.
5) To bend the 1/2” SS rod for hangers, I used a vice and 4’ section of black iron. Never underestimate leverage.
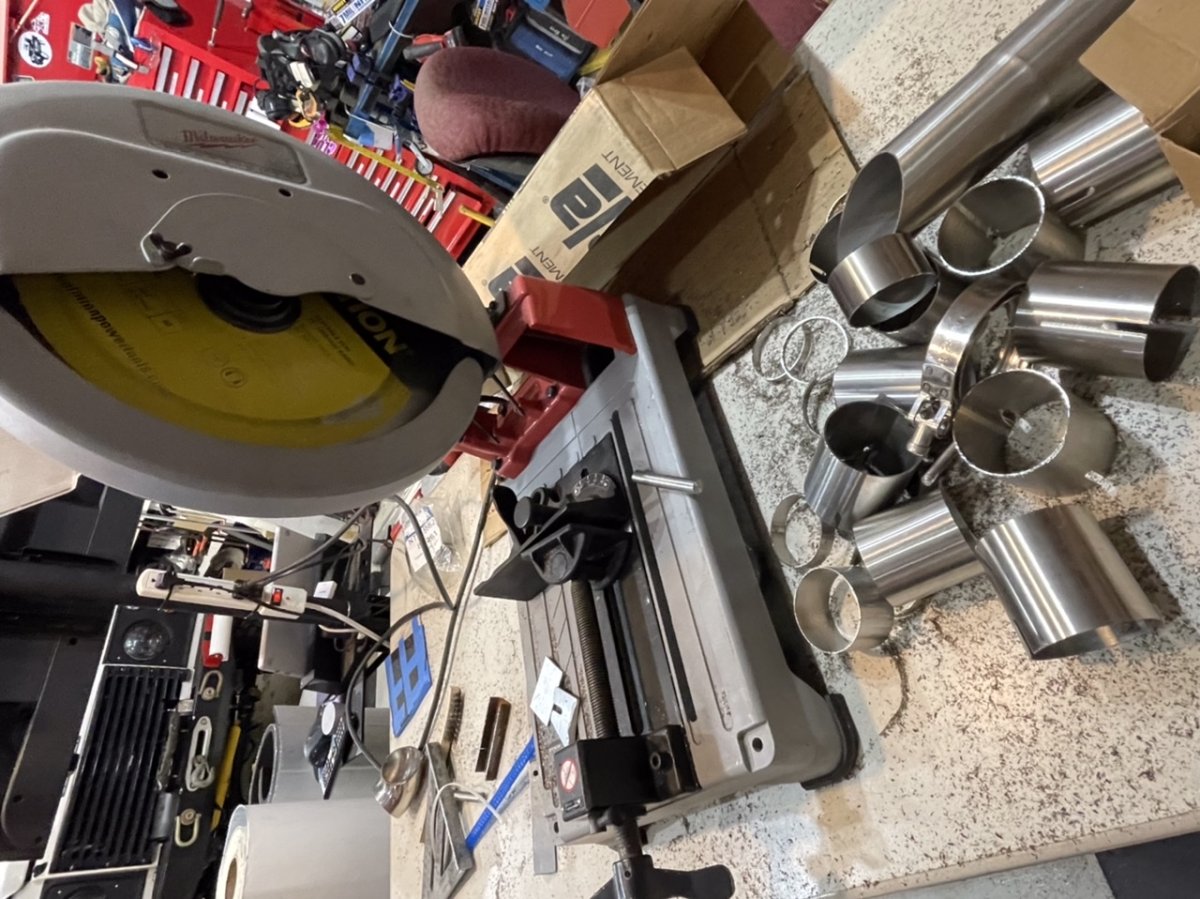
6) Forget using flanges and bolts. I ditched every one. Use V-Band clamps.
7) Never use an impact gun on stainless bolts as they can and do gall and freeze in place—either direction—fubarring itself. I knew this but ignored my own advice due to my tendinitis and expediency due to how many on/off cycles I did during mock up. I ruined a v-band clamp. Argh. See! Told me so. I will wait to do the muffler section replacement. Running the DOC and straight pipe for now.
Welding SS is not the same as regular steel—not even close if you don’t use the right gas. I knew this going in as I’ve done it before. It’ll make you feel like a noob and my welds are not pretty nor did I expect that. But I did try and be very cautious to get deep penetration through loads of practice And to dial in voltage and wire speed.
View attachment 24559
View attachment 24560
View attachment 24561
I still need to finish wrapping some sections, but it’s in and done. I did cut off all the slip together sleeves that the exhaust kit came with, leaving just the first 1/8” (barely, just the slight beginning of the flair) to provide a nice aligned union surface to prevent burn through. Worked great. My only burn-through were on butted sections where I needed to shorten sections. When I add the muffler section I will probably shorten the exhaust about an inch…or maybe not. I exited it at the corner as that is the highest spot.
View attachment 24564
(I need to work on that chassis and body paint too! But hey, haven’t had the truck that long and my list is still huge…)