You are using an out of date browser. It may not display this or other websites correctly.
You should upgrade or use an alternative browser.
You should upgrade or use an alternative browser.
What have you done to your DEFENDER today?
- Thread starter javelinadave
- Start date
Z.G
Well-known member
hmmm, so I see by way of Excel, you chose the "hammer lock" style....that disconnects. I will likely take this route for ease of install. Just need some dyneema to wrap around it now.
I trust the pin more than I trust myself to splice it correctly, so it was an easy choice.
Angus
Well-known member
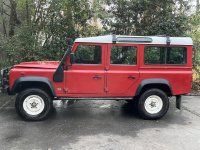
Picked up a set of white Wolfs from @WreckITFrank, added some new tires to give the '94 a retro look.

I hate rust, so I also added a set of stainless lug nuts from Wrington.

I hate rust, so I also added a set of stainless lug nuts from Wrington.
WreckITFrank
Technical Excellence Contributor
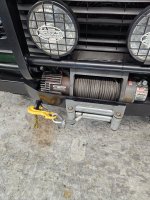
@jymmiejamz is your line at risk with that roller fairlead? Hard to see if those edges have hard lines...just curious, I have very little winching experience and none honestly with soft line.
Most of my required winching life was 5t+ army trucks
Most of my required winching life was 5t+ army trucks
Last edited:
Every synthetic winch rope I have seen break has been with an aluminum fairlead. I would take a rough, previously used on steel line, fairlead over an aluminum fairlead any day.@jymmiejamz is your line at risk with that roller fairlead? Hard to see if those edges have hard lines...just curious, I have very little winching experience and non honestly with soft line.
Most of my required winching life was 5t+ army trucks
erover82
Well-known member
@jymmiejamz is your line at risk with that roller fairlead? Hard to see if those edges have hard lines...just curious, I have very little winching experience and none honestly with soft line.
Most of my required winching life was 5t+ army trucks
Line can theoretically get caught in the corners. Otherwise, their rolling design and larger sheave diameter is much easier on the rope.
This one is explicitly designed for synthetic:
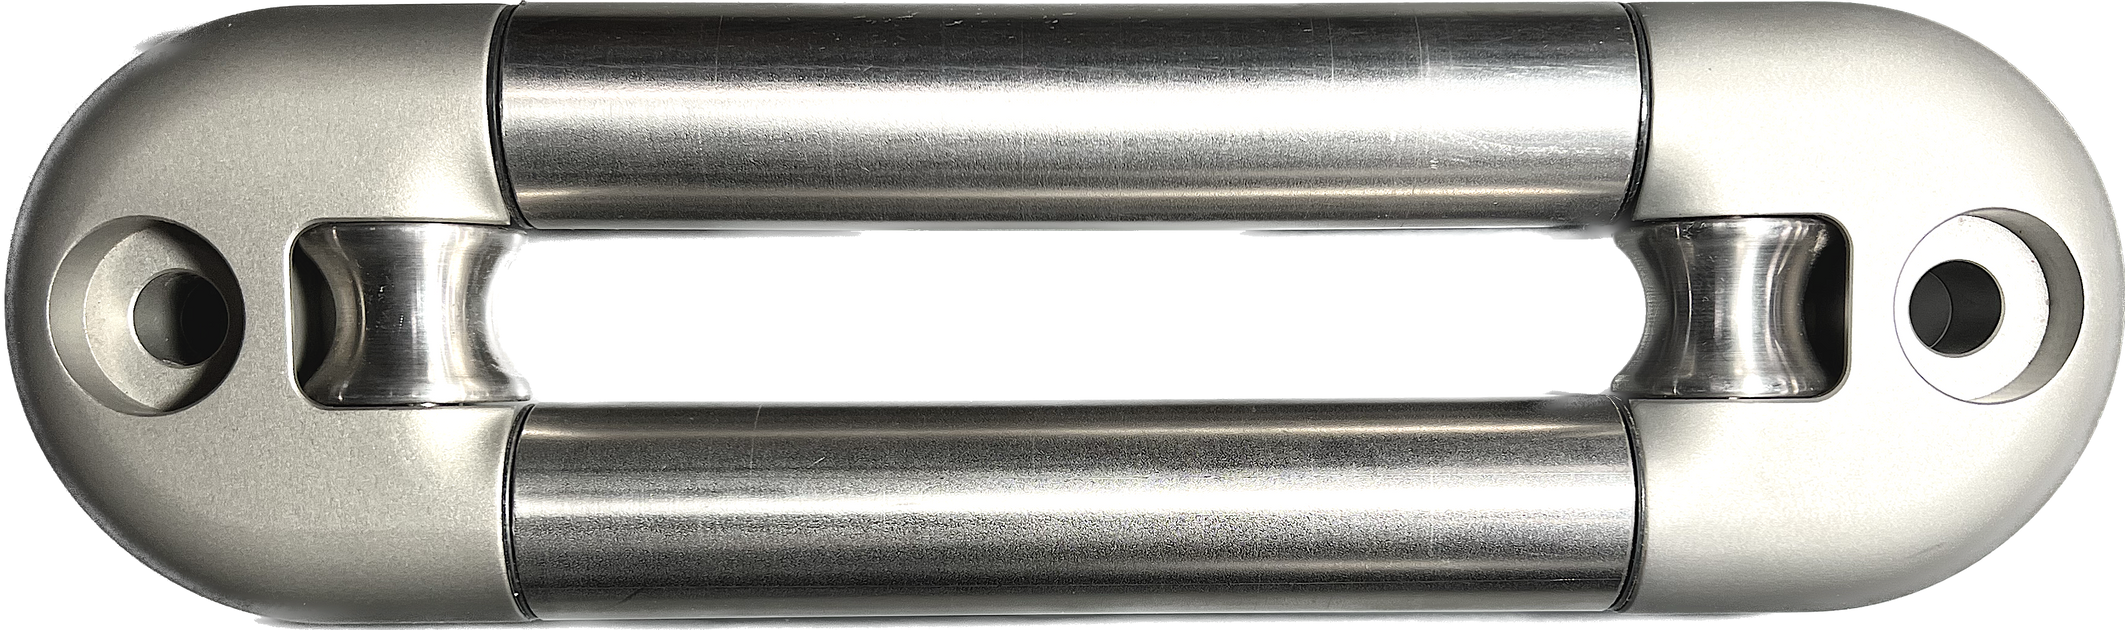
The Original HawsePro™
Roller Fairlead Low Profile Hawse Overland Vehicle Recovery 4x4 Off Road Synthetic Winch Rope Safer by Design Anti Friction USA Made Lifetime Warranty Patented
Grover
Well-known member
Looks great! Did you add wheel spacers?Picked up a set of white Wolfs from @WreckITFrank, added some new tires to give the '94 a retro look.
View attachment 29450
I hate rust, so I also added a set of stainless lug nuts from Wrington.
View attachment 29451
Angus
Well-known member
Thanks, I was running 1 inch spacers with the alloy wheels so I just left them on. Went with 235/85 tires, so they help fill out the wheel wells better.Looks great! Did you add wheel spacers?
UnfrozenCaveman
Well-known member
erover82
Well-known member
@jymmiejamz is your line at risk with that roller fairlead? Hard to see if those edges have hard lines...just curious, I have very little winching experience and none honestly with soft line.
Most of my required winching life was 5t+ army trucks
Robert Pepper did a great video on this subject.
SaintPanzer
Well-known member
Well, today the weather was finally warm enough to pull the rear door card off and see what was causing the short that made my brake/tailights inoperable when the door was open, and intermittent when the door was closed. I thought it would be easy. It was not.
First but minor concern is there is a bit more rust than I'd hoped. Looks like a new door, or at least a door frame is in my future someday. But I have some time.
There are basically three "harnesses" in there. One goes to the third brake light, one to the window defogger, and one to the wiper motor. And one big black wire that seems to serve as a ground. To this, the ground for the wiper motor are spliced in. Not exactly how I would have done it, but oh well. That's the way Solihull did it.
I pulled the ground wire from the door frame, cleaned it, used some light sanding, bright shiny metal. That didn't do it. I noticed the screw would not fully tighten (yes, I have a screw loose), so I drilled a new hole. This still did not work. I did some measuring, and noticed low resistance between the loop and vehicle body. Just to be safe, I cut the wire back to before the wiper motor was spliced in to cut out corrosion, and added a new marine grade loop, and gave the wiper motor grounds their own loop. All screwed tight to bright metal. No Joy.
Started wiggling wires. Noticed something odd:
Lights went out when the door was open, but worked when the door was closed.
When the lights were working, the third brake light had the faintest glow. It lit up brightly when you pressed the brake, but had just a hint of volts at all times when the headlights were on.
Disconnect the lightbulb, no brake lights. Reconnect, door closed, it worked fine (other than the faint glow).
So I think the problem is in the third brake light harness. It could be the connectors, or it could be the wire. It was getting dark, and I was getting cold, so I put it all back together. I know I'll be in there again. But in the meantime, I think I can get it to work when I need.
Thoughts/ideas/comments on electrickery are appreciated.
WreckITFrank
Technical Excellence Contributor
This is a 90, right? Grounds connect via the screw into the body under each side wire cover? It should be good enough, but I did a through bolt and a 12 wire to a chassis bolt from the bottom. Then at least there was a good ground back there but also the horrible 3 and 4 way Lucas bullet plugs are always suspect. Meaning a temp ground to the frame for testing is helpful too. Where are you located? I have a good rear door frame.
SaintPanzer
Well-known member
I'm in northern Idaho.This is a 90, right? Grounds connect via the screw into the body under each side wire cover? It should be good enough, but I did a through bolt and a 12 wire to a chassis bolt from the bottom. Then at least there was a good ground back there but also the horrible 3 and 4 way Lucas bullet plugs are always suspect. Meaning a temp ground to the frame for testing is helpful too. Where are you located? I have a good rear door frame.
Which grounds? At the brake lights themselves, or in the door? My 90 is UK spec. There is one ground wire screwed to the door. Original had this large (maybe 14 gauge?) wire screwed to the door, and two grounds from the wiper motor spliced to this wire. This splice was done by removing insulation in the middle of the large wire, and then crimping the two smaller (maybe 16 or 18 gauge) to the large wire, then taping over the mess. I cut the wire before the crimp, and crimped on marine grade (Anchor) blade connectors. I then took a new marine grade (stranded, tinned, heavily insulated) 14 gauge wire to a screw connector and screwed it to a new hole in the door frame. Using my multimeter, that little six inch wire showed 0.4 ohms resistance when I measured from the wire to the bolt where the door latch grabs. I then added new fittings to the ends of the wiper motor grounds, and they screwed into the frame as well.
There is one thing I could have done better: What I did was twist the two smaller wires together and then put them in one 14-16 gauge fitting. What I should have done was given them their own fittings. I will correct that shortly. Also, I was out of the correct size shrink wrap, so I used electrical tape. New shrink wrap is on order, and when it gets here I will correct the fitting issue.
To be clear, to connect the fittings I used an Ancor ratcheting crimper. In the marine industry (American Boat and Yacht Council) code uses crimps not solder to avoid hard spots in the connectors that could be weakened by vibration. The fittings (which I had on hand from my boat projects) are thus designed for that and do not handle solder well.
The sockets on the brake light fittings are new (replaced in August) and the wires/connectors looked good. I'm trying to remember if they were spade or bullet fittings, I will check the old ones which I saved. That's actually a different story: I had to replace a socket for a turn signal light, ordered two because they were less than 10 euros, ordered the wrong ones and received brake light sockets, ordered the correct turn signal sockets, and because I had them on hand replaced all four. It wasn't until December (and a lot of miles, to include 3,000 of them on ship) that I realized I had a tail light issue.
I'm still hung up on the "glowing" third brake light. Somehow that's getting volts (it just occurred to me I should measure) even when the brakes are not applied.
Last edited:
SaintPanzer
Well-known member
Yes. I pulled the gaiter back as far as I could. The "heavy" insulation over the third brake light wire was not cracked, nor was any other wire. Will take photos later (maybe tomorrow if the weather holds).Did you check the wires in the rubber where they go from the truck to the door? I had 2 wires cut in mine causing issues
Summary: Door open, no tail, no brake lights. Turn signal, fog and backing lights work fine. Door closed, all lights work, except when they don't. When they don't, a wiggle of the wires on the third brake light and then closing the door gets them working again. One thought I just had on that: Rust in the hinges could make for a poor ground between door and chassis, but closing the door adds contact through the latch assembly/latch bolt. Though this doesn't explain the glowing third brake light...
Last edited:
Mirrajumper
Well-known member
Pull the interior corner cover on pass bench seat and there is another ground wire for that harness. Also check your rear defroster switch and hazard switch. When faulty, they will seek a ground in bizarre spots throughout truck! Glowing lights, temp/fuel guages out of range etc.
WreckITFrank
Technical Excellence Contributor
measure voltage across the 3rd brake light when off.
I suggest adding a new ground through the rear door loom and using for the lamp and wiper motor. Technically its grounded through the hinges and the latch when closed...but is still sketchy IMO. On the right rear side, under the cover where all the lights come together is a bundle of grounds, connected to the body with a sheet metal screw. That is what I replaced with a through bolt, or can use a ground post and connected to the frame.
Here is the left side for reference, was the same way with the sheet metal screw. Should be absolutely fine that way, but the frame is always a better option, IMO.