LR3 Must Do's

stu454

Well-known member
Callsign: KN4CBB
I must me missing something. Then why are most dropping the transmission pans (and y-pipe to provide the clearance)?
06' SE

To replace the filter, you have to drop the pan. I cheapbastarded it and just did a drain and fill.
 

jymmiejamz

Founding Member
Callsign: KN4JHI
I must me missing something. Then why are most dropping the transmission pans (and y-pipe to provide the clearance)?
06' SE

Like Stu said, only to replace the pan/filter. If you just want to replace the connector sleeve, you can unbolt the pan and rotate it slightly to release the sleeve and just put a new gasket on the pan.
 

hillstrubl

Founding Member
Good call with this one. What's your method to properly grease this thing? Mine (LR4) doesn't like to go up or down very well without lots of persuasion.

I squired some marvel mystery oil though the bolt in the rear floor until it moved without complaining. Then I added some grease with my hand from the bottom (and moved it up and down several times to work it in).
 

stu454

Well-known member
Callsign: KN4CBB
Here's another one: if your truck has or is closing in on 100k miles, you might want to prepare to replace the alternator. More than one dealer tech has told me that they like to start going south around that mileage. The swap isn't hard. Autozone has a refurb for about $180 that comes with a lifetime warranty.
 

jymmiejamz

Founding Member
Callsign: KN4JHI
Here's another one: if your truck has or is closing in on 100k miles, you might want to prepare to replace the alternator. More than one dealer tech has told me that they like to start going south around that mileage. The swap isn't hard. Autozone has a refurb for about $180 that comes with a lifetime warranty.

I'd rather have an original alternator than an aftermarket or rebuilt alternator.
 

stu454

Well-known member
Callsign: KN4CBB
I'm a recovering CheapBastard, so I figured I'd roll the dice on $180 vs $500.

And I still have the original. I'll get it to a rebuilder at some point.
 

tommyd

Member
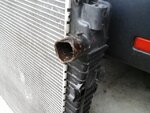
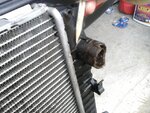
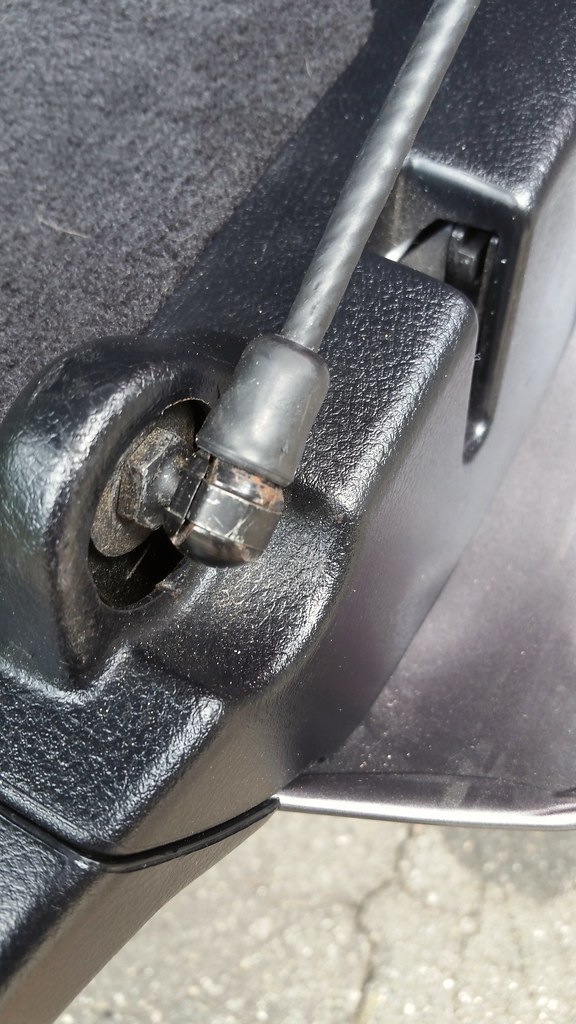
There is a plastic breather in the coolant system that is notorious for cracking and spitting coolant all over, usually on the trail or the highway. As a preventative measure it is best to just replace it with a 3/8" brass barbed fitting like this: https://www.amazon.com/dp/B003CEQRG...lid=1OFTQGPJSYC4V&coliid=I39PWNYUT6JX9G&psc=1

So I just replaced the plastic breather (which broke easily as I removed it) with the brass connector. But, given that there's no valve on the replacement, do I need to bleed the cooling system somehow after adding more coolant? (I lost some coolant in the process.)
 
Last edited:

Roverman2010

Well-known member
If you have an early D3 I would check the condition of the top rad hose inlet to the rad, mine had the compressed cardboard pealling apart. It certainly wasn't plastic in nature.

Much like a very wet Trabant.
 

Attachments

  • 20160603_100959.jpg
    20160603_100959.jpg
    166.1 KB · Views: 256
  • 20160603_100948.jpg
    20160603_100948.jpg
    175.8 KB · Views: 251

stu454

Well-known member
Callsign: KN4CBB
So I just replaced the plastic breather (which broke easily as I removed it) with the brass connector. But, given that there's no valve on the replacement, do I need to bleed the cooling system somehow after adding more coolant? (I lost some coolant in the process.)

I would fill it to the top cold fill line and then drive it around the neighborhood with the coolant reservoir cap off. See if the level drops any, add as needed and then reinstall the cap.
 

stu454

Well-known member
Callsign: KN4CBB
Check behind your front fender trim.
 

Attachments

  • 20170319_125629.jpg
    20170319_125629.jpg
    230.8 KB · Views: 272
  • 20170319_131737.jpg
    20170319_131737.jpg
    127.6 KB · Views: 271

Roverman2010

Well-known member
Is the rear door lock problem still a thing?

I just want to add to this about the upper gate not working, yes I had this just after getting and not knowing about it. I will tell it's Royal pain in the Butt.

If you haven't done so yet (it will happen) remove the lower tail gate trim, this will show what will go wrong. The wire from the actuator to the lock mechanism had parted. I was able to re-splice that. But I added a second pull wire. I had some st/st fishing leader (for shark) attached to the lock bit and ran it out of the gate and have it taped under the trim with a lenght so you can get to it. I wish I had taken some pics but Remember I drilled a couple of small holes to run the leader.

If this goes while the back is full some say camping equipment you have to get it ALL OUT to rip the trim off as you are pissed off by this time.

I did read a story of a couple that where camping in France when this happened, they also had a dog guard fitted and full of camping gear. The pisser was all the screws for that where fitted from the cargo side. It's on the D3 site somewhere.

JUST DO IT.
 

stu454

Well-known member
Callsign: KN4CBB
There's a guy in Europe that has updated Nav disks that work nicely in an LR3. It's about $35 or so. His username is dijkvr on landroverforums.com
 

stu454

Well-known member
Callsign: KN4CBB
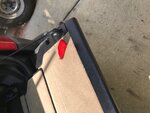
Tip: Don't retract the spare tire winch when it is unladen. That causes the winch to be unable to lower.
 

Al Blue4.6l

Well-known member
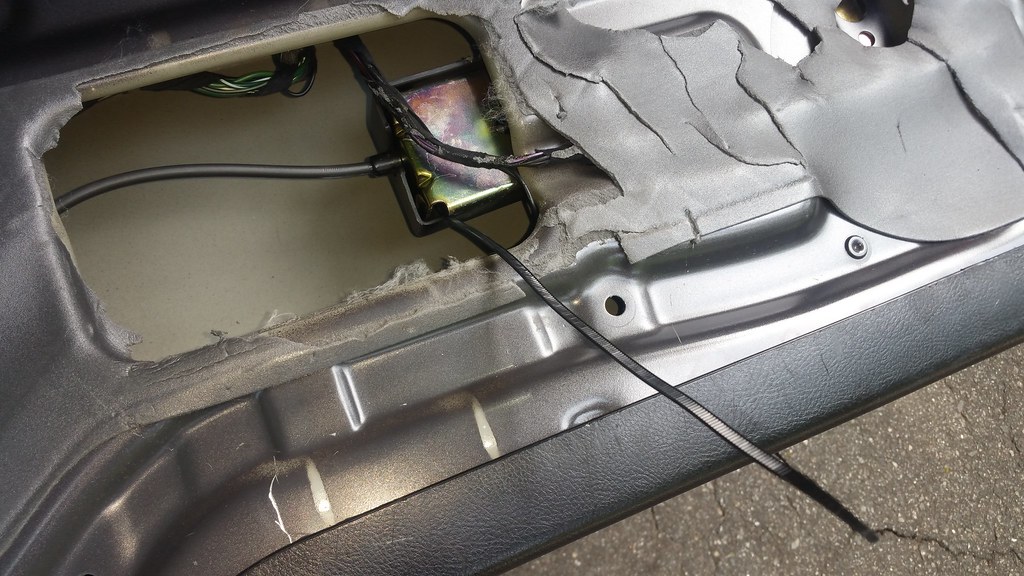
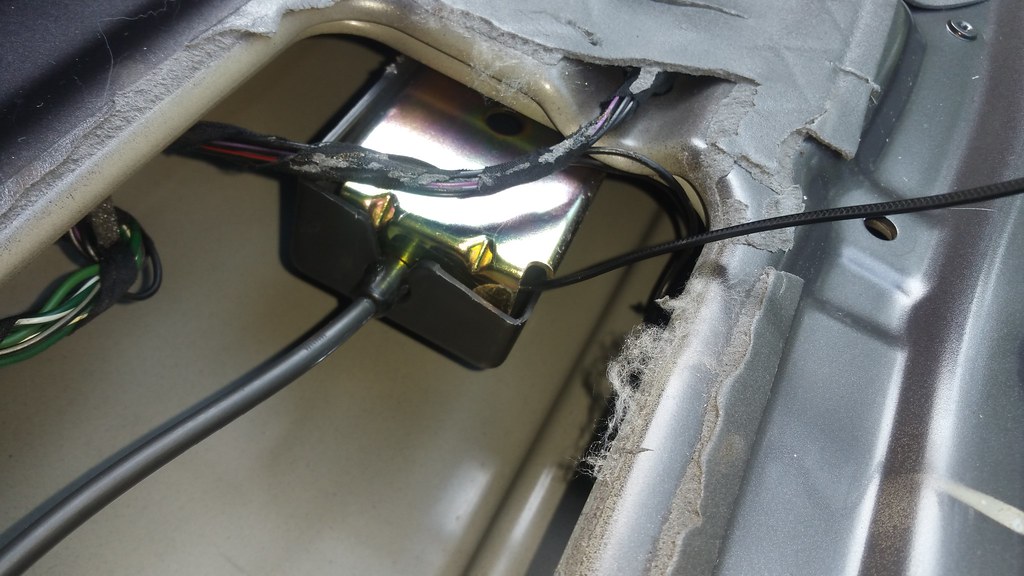
Curious if you have any pics/links to setting up this backup plan

I searched and didn't find one - so I just finished taking mine apart to figure it out. My solution isn't quite as elegant as the one posted above, but it works.

My actuator has clearly been replaced previously and the water shield was essentially removed. I may pick up a new one next time I make an order, though there was no sign of water intrusion.

There's a decent primer video here:
http://www.roverparts.com/resources/videos/accessing-lower-tailgate-actuator-cable-lr3/

First, remove the cables from the tailgate. You need to pop up the little retaining clips with a small screwdriver and then the cables will pop right off

36113149375_fdecb6faa1_b.jpg


The cables will want to retract up into the side panels - I tied mine in a circle and wrapped them around the tailgate latch posts to hold them.

You can then unscrew the head that the cables attach to (I was very glad that I did this job as one of the heads had almost completely unscrewed itself)

I found it easier to remove the "top" trim piece first, which is held on with four screws (each covered with a plastic cap). Once the screws are out, you can pop it straight "up" (with the lower tailgate in the upright position). You can then simply pop up the plastic/carpet tailgate cover all the way around.

If your weather shield is in place, you'll need to peel it back or cut it to see the actuator, which is brass colored:

35979485521_f77fcc0037_b.jpg


36113017525_fc7ea801b9_b.jpg


You can then push the black plastic trim piece on the back of it down and access the exposed wire underneath by feel. (outside of the actuator, the wire is sheathed and you cannot directly pull on it)

I then took a zip tie (as seen in photos above) and zip-tied it around the exposed wire cable - again, by feel.

I then drilled a small hole in the carpet trim piece and ran the zip tie through it:

36113016815_b0786f693f_b.jpg


36113016605_8bfa472c6c_b.jpg


I then put everything back together (after testing functionality) and tucked the zip tie up into the "top" trim piece.

36113014705_4dfd29e778_b.jpg


Note that I left enough room to grab it without having to loosen/remove anything.

Easy.
 
Top