Springs, Shocks & Bushings Replacement

Tbaumer

Technical Excellence Contributor
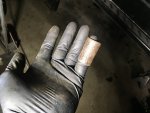
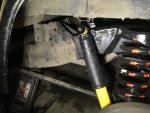
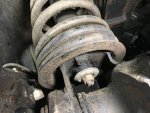
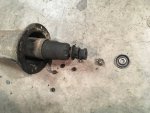
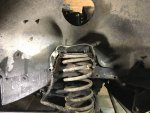
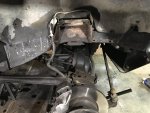
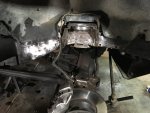
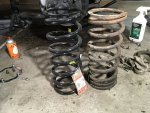
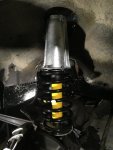
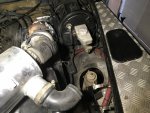
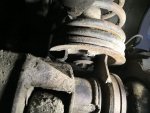
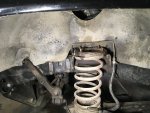
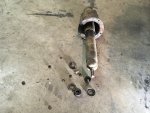
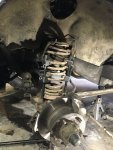
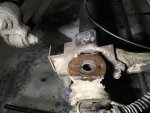
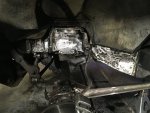
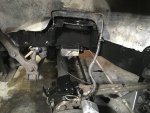
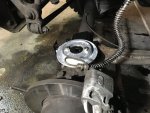
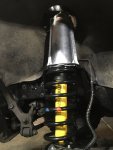
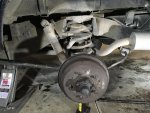
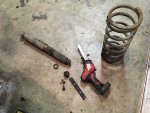
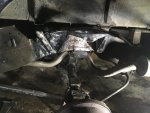
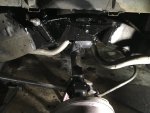
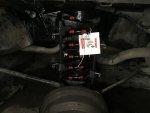
Started with the front right - Removing the old shock required cutting the bottom nut off. You can see how bad the shock bushings were. I left the top attached to the tower, as I'm replacing it as well. The old shock was surprisingly easy to depress by hand, with no push back.

IMG_3660.JPG IMG_3662.JPG IMG_3663.JPG IMG_3664.JPG IMG_3666 2.JPG IMG_3670.JPG
 

Tbaumer

Technical Excellence Contributor
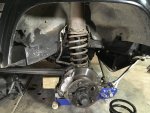
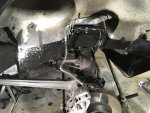
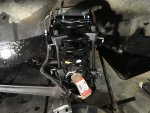
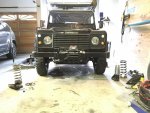
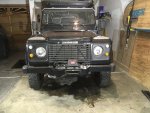
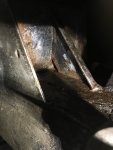
Exposed part of the chassis that went untreated for rust, so a bit of prep with a wire wheel, naval jelly & POR15 (with rinses in between) was needed. New parts in. The lean of the truck shows the difference between the old worn out components on the drivers side & new.

IMG_3671.JPG IMG_3674.JPG IMG_3677.JPG IMG_3678 3.JPG IMG_3680.JPG IMG_3682.JPG
 

Napalm00

Technical Excellence Contributor
looks great ! next time instead of using the death dealers (spring compressors) just stand on the end of the axle hub . Spring will slide right in .
 

Tbaumer

Technical Excellence Contributor
I'll try the last one without the spring compressors. Here's where I'm at so far - Drivers (left) side was going smoothly, until I broke one of the spring seat bolts off, then broke my undersized extractor & had to run to the auto store for the right one :mad:.

IMG_3684.JPG IMG_3685.JPG IMG_3686.JPG IMG_3687 2.JPG IMG_3688.JPG IMG_3689.JPG
 

Tbaumer

Technical Excellence Contributor
More rust prep & the front end is done! Took her for a little drive & convinced myself it already feels better.

IMG_3690.JPG IMG_3692 2.JPG IMG_3693.JPG IMG_3697.JPG IMG_3699.JPG
 

Tbaumer

Technical Excellence Contributor
Drivers side rear - Trying to address the rust in areas that I won't be able to get to later. Cleared a bunch of debris out of one of the many mud traps in the chassis & sealed.

IMG_3700.JPG IMG_3702.JPG IMG_3703.JPG IMG_3705.JPG IMG_3706.JPG IMG_3708.JPG
 

Tbaumer

Technical Excellence Contributor
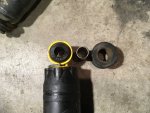
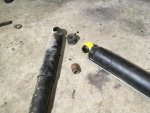
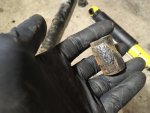
Rear shock - The old one had a sleeve inside the bushing that was in really poor condition. Looks like it has the remains of a previous bushing & someone pressed a new one over the crusty sleeve. The inside of the old bushing is smooth & in good condition. I cleaned up the sleeve, but I'm not sure it is used with the OME shock bushing. I think I will ruin the OME bushing if I try to press the sleeve in. Trying to finish this tonight. Any advise?
IMG_3709.JPG IMG_3710.JPG IMG_3711.JPG IMG_3712.JPG IMG_3713.JPG
 

Napalm00

Technical Excellence Contributor
If it's a push on fit without the bushing you don't need it. I really don't recall whether or not they one used one. Make sure you grease the shit out of all these bushings with some silicone based lube. I think it comes with a couple tubes
 

Tbaumer

Technical Excellence Contributor
Thanks Napalm00. I suspected as much. It's a pretty snug fit with out the sleeve, even lubed up I think it would destroy the new bushing to try to press it in.

Nice work...on my to do list too. What springs and shocks did you go with?

I went with OME Nitro-charger sport shocks & Heavy Duty original springs normally used without a leveler (I'm not convince mine works).
NRC6389 - LH Rear HD
NRC6904 - RH Rear HD
NRC9448 - LH Front HD Variable Rate
NRC9449 - RH Front HD Variable Rate
 

LazyRabbit

Well-known member
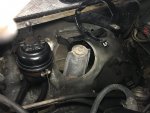
I'm doing the exact same project right now. I'm afraid of the spring retainer bolts will be a bear to take off or require cutting. I got new shocks, new springs, shock towers to go in.
 

evilfij

Well-known member
There is no need to take off the spring retainer bolts. You can stick a prybar in the spring and spin it over the retainer.
 

Tbaumer

Technical Excellence Contributor
If you don't take the retainer bolts out, you can't remove the spring seat & you'll never see the rust beneath 😲! How could you sleep at night?!?
...Exploring the unknown until I have disassembled every part, fixed it & put it together again.
 
Top