Electrical Gremlins. Where would you look first.

SaintPanzer

Well-known member
Long story short: Noticed my rear taillights are out. The interesting thing is: The brake lights work fine. Then you turn the headlights on, and not only do the rear tail lights not work (fronts are fine), the brake lights stop working too.

My D90 is UK spec, and I do NOT have LEDs. I had thought a pinched wire or maybe a ground, but brake lights working with the lights off, but not working with the lights on has me confused.

Thoughts on where to check first? Bulbs seem OK, sockets are new.

Any help is very much appreciated!
 

michael67

Well-known member
Get a wiring diagram.

I don't know what engine you have, but there's an electrical connection under the hood that allows you to disconnect the rear lights on the 300 Tdi & TD5. I'd start there and Ohm things out, check output voltages, and/or apply voltage.
 

WreckITFrank

Technical Excellence Contributor
I have no left tail, and sadly found a broken wire somewhere in the chassis. As Michael said above, if newer (post 94 I think) you'll have plugs on the firewall before the harness goes into the chassis. Red/black should be left parking, red/orange right. this is the 3 plugs if you are circa 300tdi... Not sure if the same but the colors should be.

Maybe look at the switch.

PXL_20231126_172830947.jpg
 

WreckITFrank

Technical Excellence Contributor
If you remove the intake hose. You can unclip the plugs and pull the harness up and work on it easily. Good luck.
 

madcowdungbeetle

Well-known member
Long story short: Noticed my rear taillights are out. The interesting thing is: The brake lights work fine. Then you turn the headlights on, and not only do the rear tail lights not work (fronts are fine), the brake lights stop working too.

My D90 is UK spec, and I do NOT have LEDs. I had thought a pinched wire or maybe a ground, but brake lights working with the lights off, but not working with the lights on has me confused.

Thoughts on where to check first? Bulbs seem OK, sockets are new.

Any help is very much appreciated!

I feel like I remember going through this exact scenario with my NAS90 a while back and it ended up being the headlight switch itself. Replaced it, and problem solved.
 

SaintPanzer

Well-known member
Short answers (so far).

One thing I learned is my spotter did not understand the brake lights... so it doesn't matter if the headlights were on or off, nothing lit up back there.

Tried to look for the connectors, but I did not see them from the top, and it was really cold and windy outside. Did not seem like a good day to remove the intake hose, and did not feel like crawling in the snow to look from below. So limped home.

Finally got it home last night, and will get it in the warm garage to work on. Will let you all know what I find. Really hoping it is NOT the headlight switch, but I guess that's a possibility. I have upgraded the wiring and use relays for the lights, but I guess it could be that. Will see. Does the wheel have to be removed to change that switch? I haven't been able to get the wheel off yet, and have twice stripped the threads using a puller. May take a bit to sort it. Thanks for all the help.
 

MountainD

Technical Excellence Contributor
No, you don’t need to remove the wheel for headlight switch. Dip beam, yes, head light, no. Steering wheel should never be too hard to remove, get a puller. I say this because there are a million repairs easier with it removed, so get used to it to make life easier. The headlight switch, however, is not one. Take off the upper and lower plastic cowl. The switch has a nut on it— loosen this and slide the headlight out of the metal slot. It is not in a hole— it’s in a slot. Replace.

could be this, could be a wire with cracked sheath getting grounded, could be hazard switch, there are a lot of things. Probably not the headlight switch though. I’d start by looking at the brake switch behind the brake booster if brake lights don’t work at all…. But understand the wiring diagram and how to deduce. Some switches work by grounding a circuit, some by allowing 12v to pass…
 
Last edited:

MountainD

Technical Excellence Contributor
If it was me, I’d start at fuse box and check the fuse... Then at brake light plug wiring and see if it gets 12v on hot lead when brake pedal is depressed. If not, I’d move to brake switch at booster. It’s a separate circuit than the running lights. If running light also don’t work, then it’s probably a ground issue so I’d check that at the light bulb and work back.

but just to reiterate, start with wiring diagram and understand the light circuits. The most confusing by far, and the Bane of many, is the hazard switch that, btw, is no longer available. Many folks use a Carlin switch replacement. If that confuses you, get Jason‘s carling hazard switch kit. But again, IF it is that. Once you understand the circuit diagram, you’ll see how simple the circuit is and how best to trouble shoot.

 
Last edited:

SaintPanzer

Well-known member
No, you don’t need to remove the wheel for headlight switch. Dip beam, yes, head light, no. Steering wheel should never be too hard to remove, get a puller. I say this because there are a million repairs easier with it removed, so get used to it to make life easier. The headlight switch, however, is not one. Take off the upper and lower plastic cowl. The switch has a nut on it— loosen this and slide the headlight out of the metal slot. It is not in a hole— it’s in a slot. Replace.

could be this, could be a wire with cracked sheath getting grounded, could be hazard switch, there are a lot of things. Probably not the headlight switch though. I’d start by looking at the brake switch behind the brake booster if brake lights don’t work at all…. But understand the wiring diagram and how to deduce. Some switches work by grounding a circuit, some by allowing 12v to pass…
Thanks. I was hoping that would be the case. I agree the wheel should NOT be difficult to remove. I have a puller. I've used that puller to strip the threads in the wheel, twice. One of the threads has a nice helicoil in it, the other is awaiting its helicoil. I also have a better penetrating oil I haven't tried yet. I've also managed to "goober up" the top of the steering shaft where the puller dug in and wandered while the threads were stripping. After I've helicoiled both threads, if that doesn't work, I'm going to get a new wheel and cut this one off. But I'm putting that off for as long as possible! I'm not sure why it's on the way it is. One of the last things they did before I bought the car was replace the turn signal/horn/dip switch, because the horn was inoperable and it needed to pass MOT. I'm seriously wondering if they decided to use a thread locker when they put it back together, but yes, I've tried heat. Probably didn't get it hot enough, but when the rubber on the wheel started melting, I stopped applying heat.

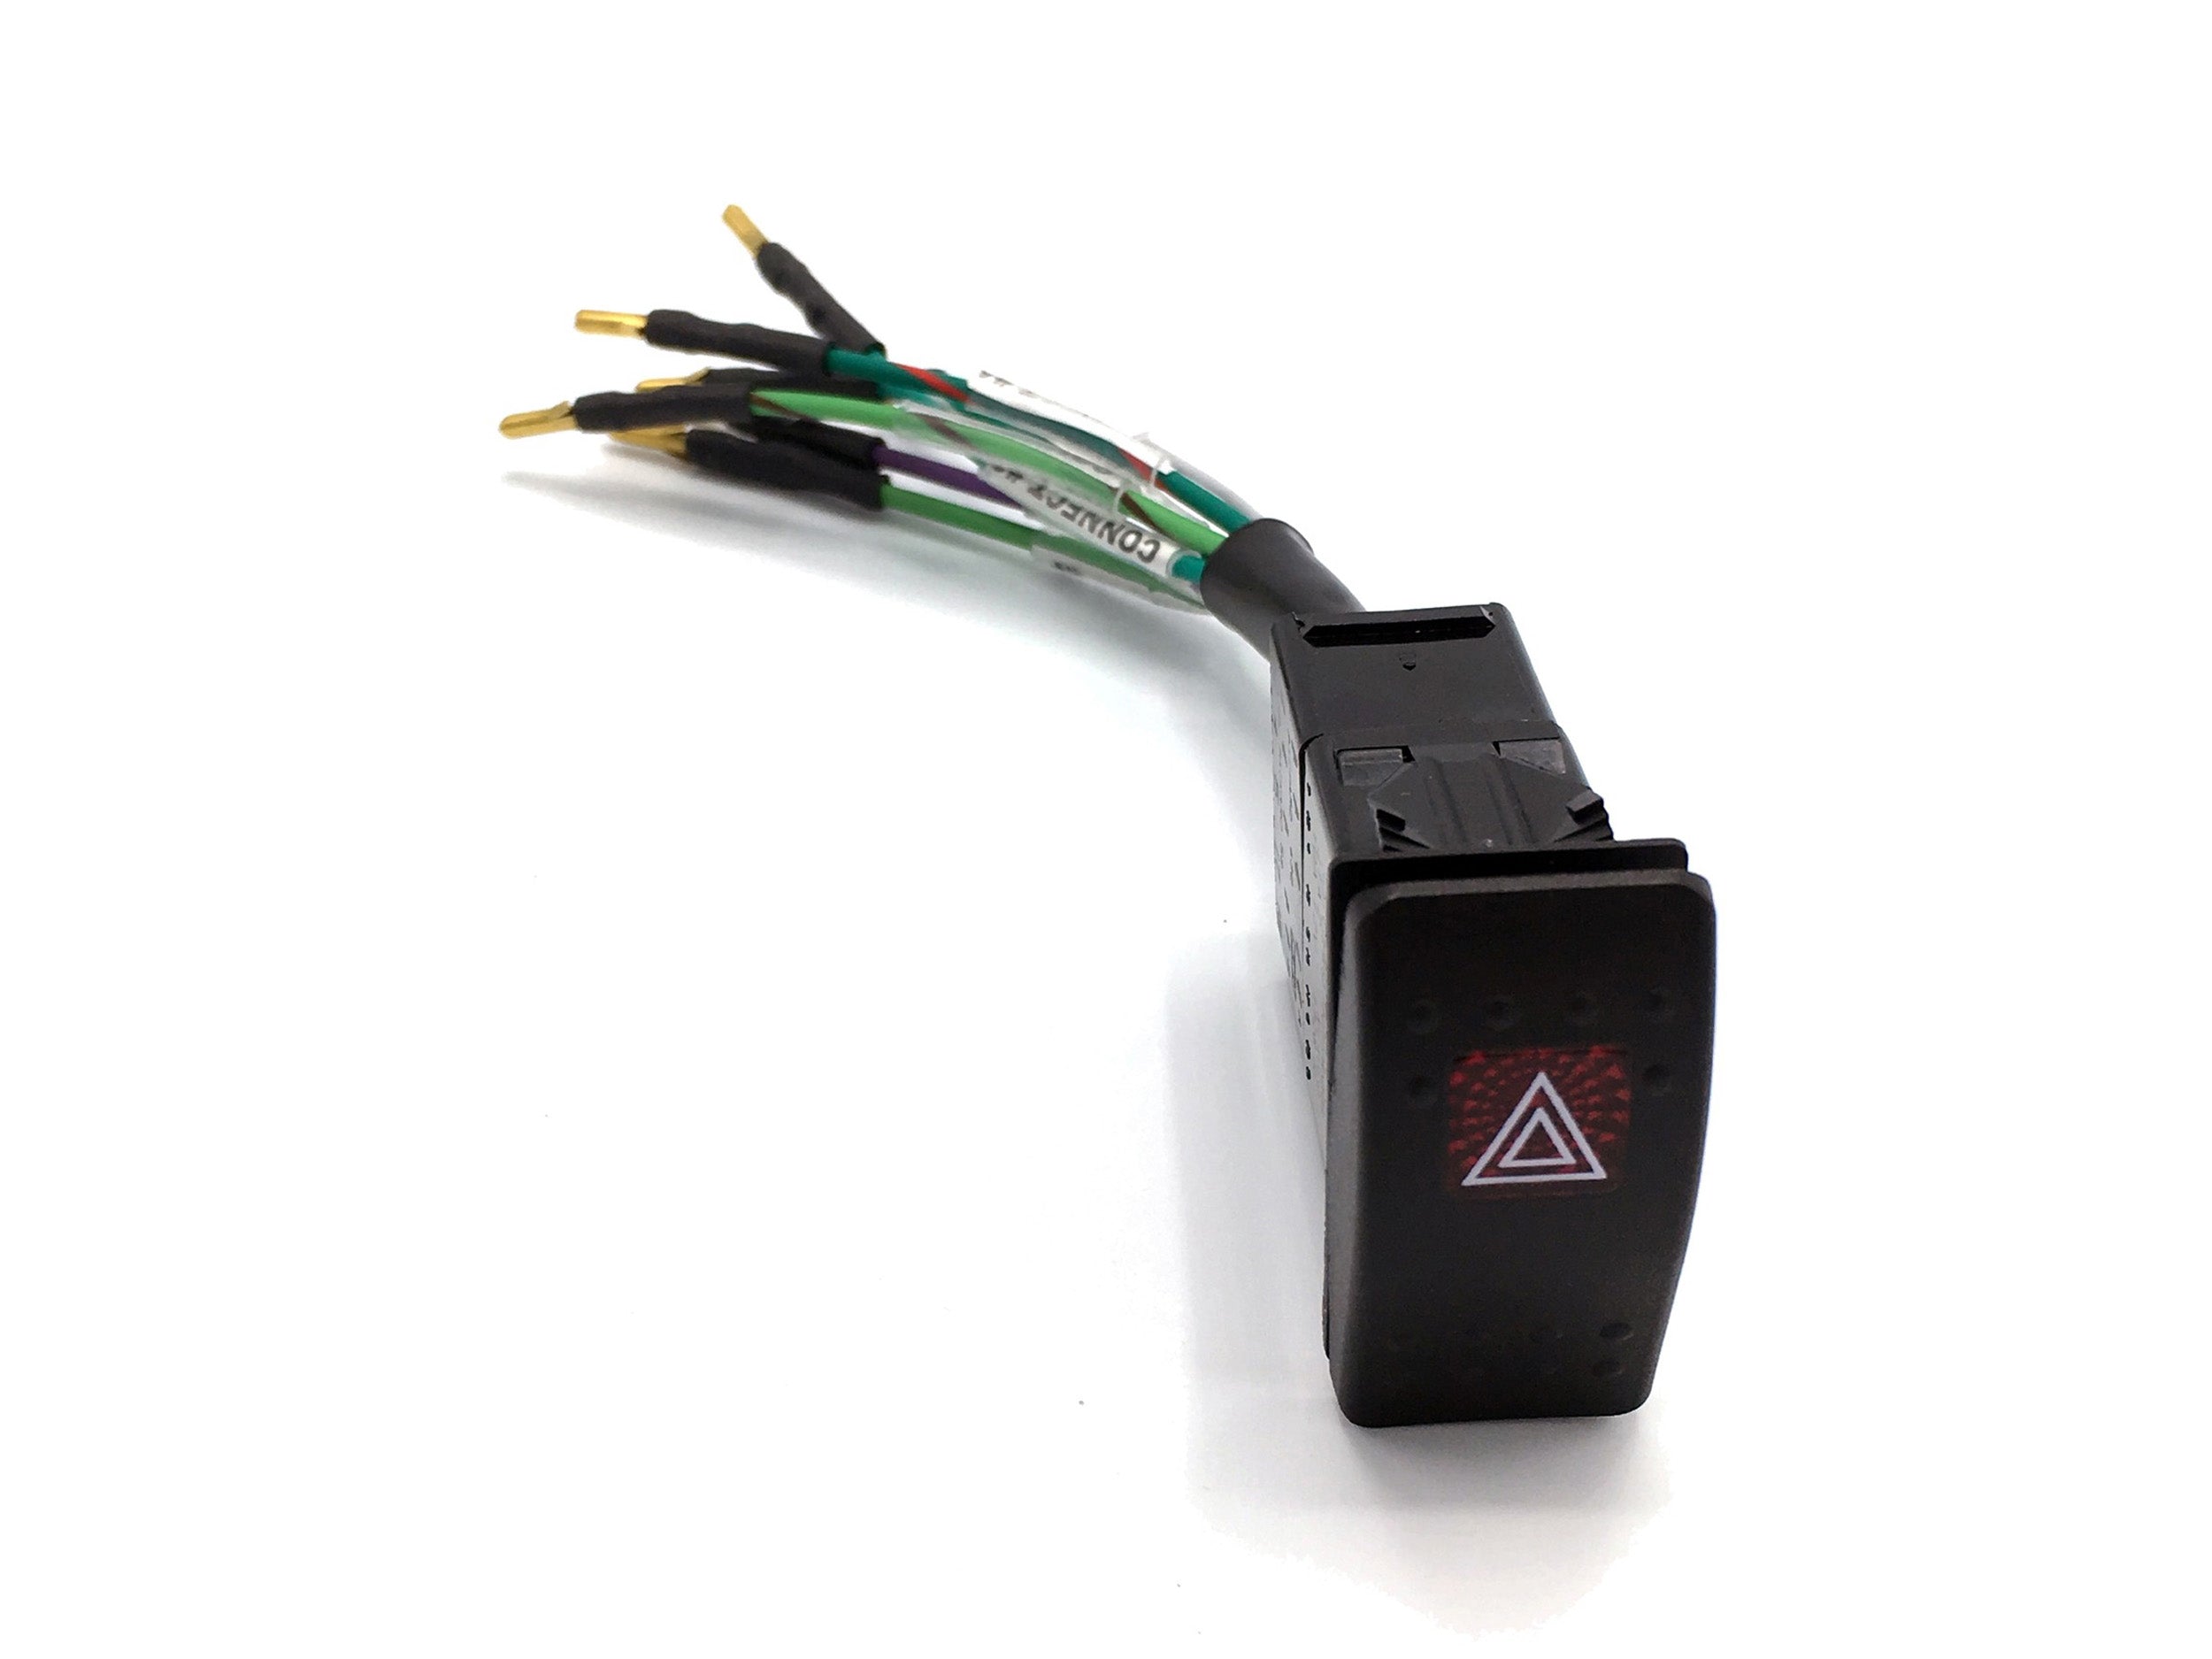
I was thinking it might be the brake switch. not sure about the hazard switch, because the hazards work fine. Aren't they on a separate circuit? Amber lights instead of the red brake/running?

Wiring diagram, yes, starting my search for one. I'll check the diagram, but I thought the front and rear running lights were on the same circuit/fuse, and the fronts work. I did pull one fuse to check, it was good, and the front left went off/on when I pulled/replaced. I will admit to both being rather inept when it comes to reading diagrams (yes, I can see what is on the circuit, but where the hell is that on the vehicle?) and I absolutely hate that the fuse panel uses symbols instead of words to describe which fuse covers which circuit. Yeah, I get that the symbols can be "universal language", but there are reasons why letters beat out hieroglyphics as a way to communicate!

Plan on spending most of the day today working it. Snow is expected this weekend, so I will need the vehicle on the road.

Oh, and for the record... just because I'm impressed a bit by the reliability factor: This is the only problem I've had since August. Why is that a big deal? Well, in August, we left Stuttgart, Germany and drove to Dunkirk. Got on the Dunkirk Ferry and got off in Dover. Drove to Thurso, then got on the ferry to Orkney. Drove around Orkney. Got on the ferry to Lerwick. Drove around Shetland. Back on the ferry, drove to Southampton. On a ship to Baltimore. Then Baltimore to Buffalo. Thought I'd be heading west, but no, Downeast in Maine. Then back to Buffalo. Then got on I-90 and all the way to the panhandle of Idaho. Only failure is the taillights. I wanted to stay on non-highway roads, but winter was too close, and I wanted to be on a road where help could be available if needed. It was a long, slow drive down the interstate... but here we are.
 

WreckITFrank

Technical Excellence Contributor
I love and hate wiring, but Deutsch connectors saved my relationship so far with all my current/past defenders. This might help if you did not find one yet. Good luck.
 

Attachments

  • 300Tdi_Wiring_Diagrams.pdf
    779.4 KB · Views: 33

SaintPanzer

Well-known member
And here's the latest: Short answer is it's working again.

Longer answer:

Checked the fuse (#17). Fuse was good. Re-installed.

Checked the switch by putting my multimeter on the two wires. With the brake pedal applied (key in position II), 0 ohms.

Spent too much time removing the intake hoses. Found the connectors. Tried to check voltage, but the pins on my multimeter were too large, and my hack was ineffective. Reconnected the connector. Realized I didn't check voltage at the fuse. Went back and pulled the fuse, multimeter said voltage was good. Replaced fuse (same fuse I pulled).

Noticed the lights were now working (pedal was still applied). Hmmm. Not sure what I did to fix it, but all lights are now working. Reconnected air hoses. Test drove. All good.

Gremlins.
 
Top