LazyRabbit
Well-known member
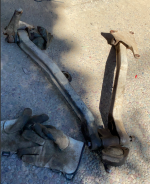
just redid my whole suspension. The ride is actually pretty decent, dare I say comfortableI threw on new rear shocks last weekend. HUGE difference in ride quality.
just redid my whole suspension. The ride is actually pretty decent, dare I say comfortableI threw on new rear shocks last weekend. HUGE difference in ride quality.
I am very curious to learn more about this process, anything you can share or where I can learn more? how does it work with normal enamel paint? NATO paint is some special stuff..Nothing ground breaking here but decided to reclaim the blotchy uneven paint on the Tithonus with a mix of boiled linseed oil and a little paint thinner.
The great thing about an ex-mod.. you can't mess it up.
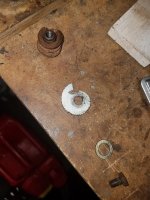
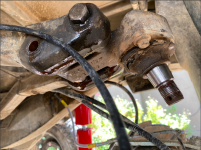
View attachment 20387View attachment 20382View attachment 20385View attachment 20386View attachment 20389
yeah does it work with older single stage paintI am very curious to learn more about this process, anything you can share or where I can learn more? how does it work with normal enamel paint? NATO paint is some special stuff..

Schools out, had to make it a one man job!Overdone! Bravo!
Still Debating the rear half of the crew cab cage.Schools out, had to make it a one man job!
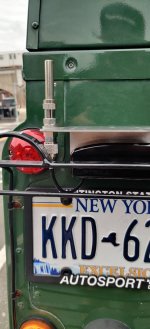
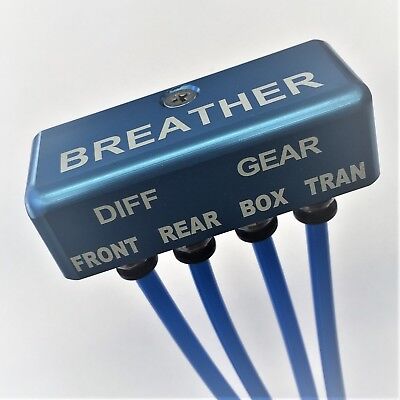
Could you post the eBay link?Hooked up a bit of bling, a diff breather box.
I saw this on ebay from australia a long time ago and finally bought it. Looks better than radom pipes hanging in the air, and i love the push pull connectors.
On the fender for now. Would like to mount it on the firewall, but I don't necessarily want to put any more holes in the bulkhead.
View attachment 20427
Could you post the eBay link?
")
... a mix of boiled linseed oil and a little paint thinner.